Wing Tips: Using Wing Pro with Windows Subsystem for Linux

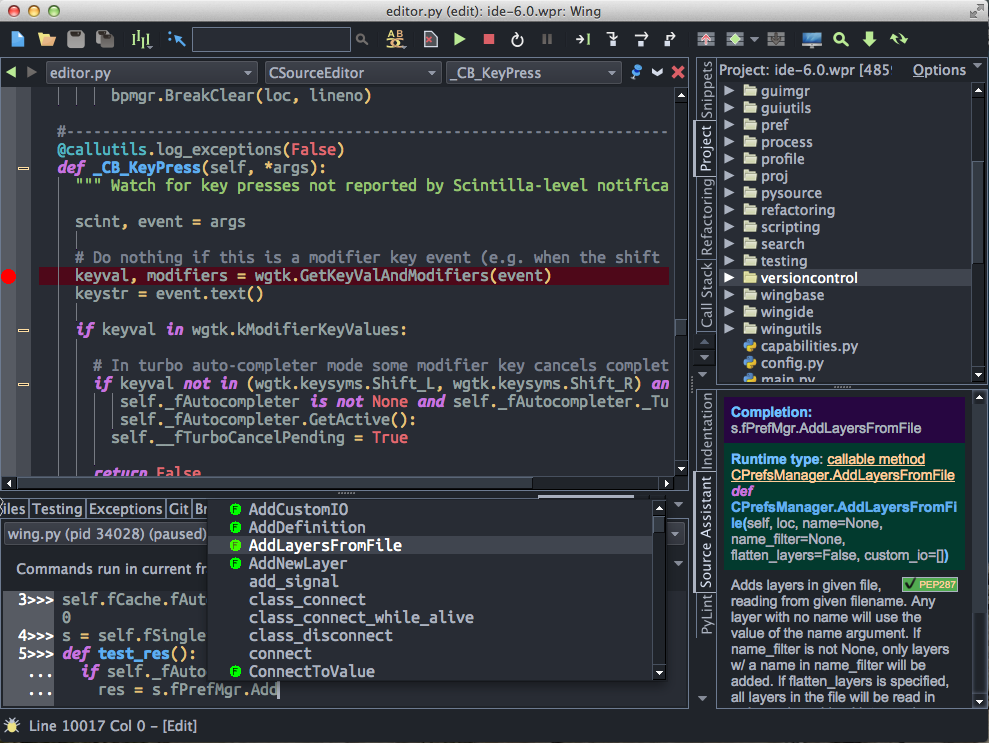
Wing Pro is a Python IDE that can be used to develop, test, and debug Python code running on Windows Subsystem for Linux (WSL).
This document describes how to configure Wing Pro for WSL. To get started using Wing Pro as your Python IDE, please refer to the tutorial in Wing's Help menu or read the Quickstart Guide.
Prerequisites
To use Wing Pro with WSL you will need to install Python on WSL and be able to SSH from Windows into WSL without entering a password. If you haven't already done this, see Setting up WSL below before trying to create a project in Wing Pro.
If you do not already have Wing Pro installed, download it now.
Creating a Project
To create a Wing Pro project that accesses Linux under WSL:
- Use New Project from the Project menu and choose Create Configuration from the Host dropdown
- Select WSL as the Remote Host Type
- Set Identifier to wsl or some other short name for the WSL-hosted Linux.
- Set Host Name to username@127.0.0.1 where username is replaced with the user name running on Linux. The user name is needed even if it is the same as the user running on Windows.
- Set Python Executable to /usr/bin/python3 or the full path to the Python executable you wish to use on Linux.
- If you are running the SSH server on Linux under a non-standard port, set SSH Port under the Options tab.
- Leave the rest of the configuration values set to their defaults and press OK.
Wing Pro should install the remote agent and confirm that it is working. Then you can add files and directories and configure your project from the Project menu. You will be able to edit, debug, test, search, and manage files on the WSL-hosted Linux installation, or launch commands running on Linux from Wing Pro's OS Commands tool.
To learn more about Wing Pro's remote development capabilities, see Remote Hosts.
To learn more about Wing Pro's features, take a look at the Tutorial in Wing's Help menu or the Quickstart Guide.
Notes
Selecting the WSL remote host type type when creating your project automatically unchecks Use SSH Tunnel for username@localhost under the Advanced tab of the remote host configuration. Other than this, the remote host configuration created in the above instructions is the same as for any other remote host.
Setting up WSL
Here is one way to set up WSL with Ubuntu as the Linux distribution and PuTTY as the SSH client:
Enable WSL and Install Ubuntu Linux:
- Enable WSL in Windows 10+. This is done in the Settings app under Apps > Apps & features > Related settings / Programs and features > Turn Windows features on and off. Restart when prompted.
- Install Ubuntu from the Microsoft Store.
- Install Python in Ubuntu with sudo apt-get install python3
Set up password-less SSH access to Ubuntu:
- Install PuTTY if you don't already have it. You should install all the tools from the MSI installer.
- Create an SSH key pair and add it to ~/.ssh/authorized_keys on Ubuntu, as described in Working with PuTTY.
Each time you restart Windows or Ubuntu:
- Start pageant from Windows and right-click on the icon that appears in the lower right of Windows to load your private key into Pageant.
- Run sudo service ssh --full-restart on Ubuntu to make sure the SSH server is started.
Now running plink username@127.0.0.1 on Windows should connects to Ubuntu without prompting for a password.
Notes
In the unlikely event that you already have an SSH server running somewhere on your system on port 22, you will need to change the port number used on Ubuntu in /etc/ssh/ssh_config and then execute sudo service ssh --full-restart again.
Other Linux distributions are available in the Microsoft Store.
It is also possible to use Open SSH instead of PuTTY. See Working with OpenSSH for details.
Resources
For more information see:
- Windows Subsystem for Linux provides information on getting starting with WSL.
- Remote Hosts for details on configuring remote development.
- Quickstart Guide contains additional basic information about getting started with Wing Pro.
- Tutorial provides a gentler introduction to Wing Pro's features.
- Wing Reference Manual documents Wing Pro in detail.
Share this article:


